Reverse Tie-Dye
By Chelsey Dankert
Up until recently, most of our family vacation time has been spent in one particular place - but I am excited for this year (and more in the future!) having more flexibility and openness as some of our typical summer commitments have shifted.
That being said, up until this point, a lot of our “vacations” have ended up being more of “stay-cations” - so I have needed to get creative to make school breaks and summer time special and not just a drawn-out repeat of Groundhogs Days.
Let me add quickly that I am all for our kids being “bored” and using their own imagination. I do like to try to have a few activities or field trips nearby in my back pocket for a break in our routine.
Spring Break this year was not particularly warm so I planned ahead for a new craft to try everyday. We made a big deal about our trip to Hobby Lobby to stock up on any missing supplies and we happily took our bags of goodies home with anticipation of the coming days.
A few of the crafts we tried included:
Shaving cream paper coloring. I’ll be honest, this one was stupid. It took a lot of work, it was extremely messy, and my house smelled like a mens barber shop for a week afterwards.
Coffee filter butterflies (Thanks, Alison!)
Salt painting. This one we didn’t get to, but I am hoping to make it a summer activity, it looked really cool!
But my favorite activity that we did together was our reverse dying.
I actually think this could be less messy than actual tie-dying, but perhaps with a little more safety because of the bleach.
What you need:
Bleach - I used a “no drip” kind, and I think it made it harder to spray evenly. But we did get some cool “plop/splatter” designs, so it wasn’t a total loss
Vinegar. Just your standard household white vinegar
2 spray bottles clearly marked
BLEACH
Vinegar
Dark-colored shirts. We had great success with black, dark green, dark blue, and even a dark pink. We tried a neon/highlighter color and it did not take well.
Safety glasses and maybe rubber gloves for little hands
Painters drop cloth or to lay on the ground
Objects to create patterns or stencils. Please note that these will be covered with bleach and vinegar. Please do not use anything that is valuable or could be ruined by the chemicals.
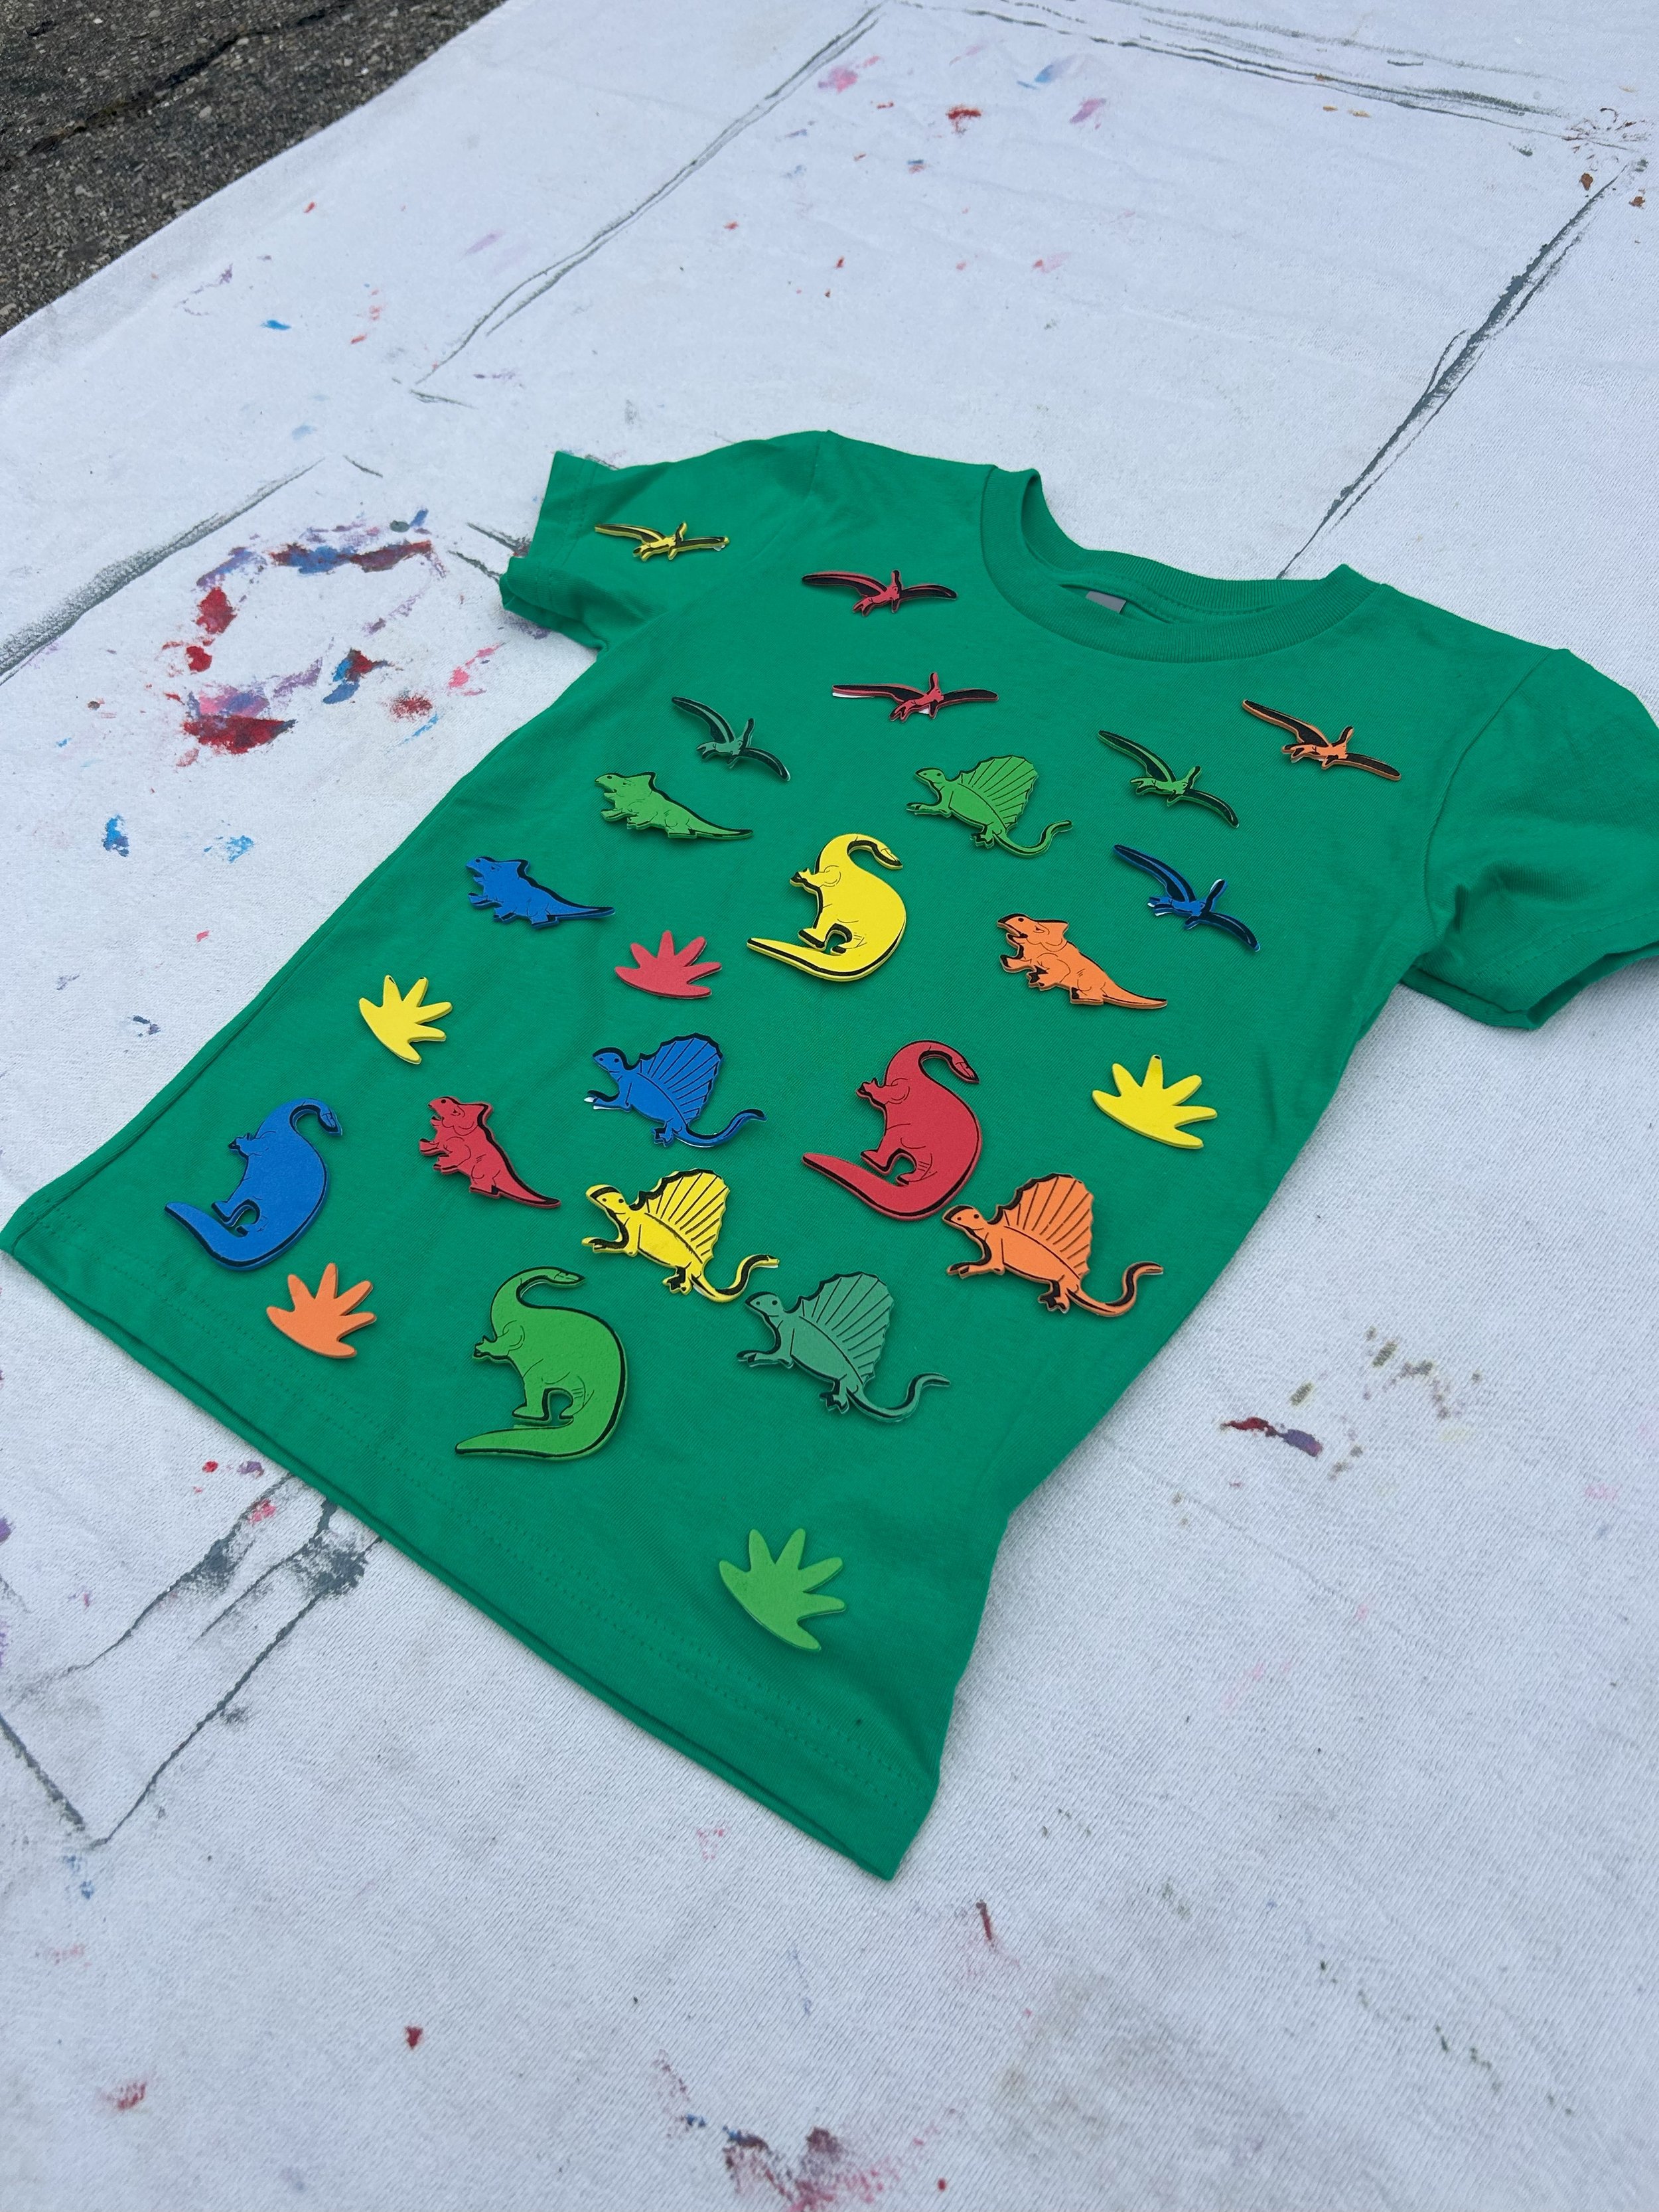
This could be sticks and leaves, chains or other jewelry to scatter. We used foam stickers (with the backing still on), and star and butterfly shaped confetti.
I used a large stencil I had from past projects
You could even cut out shapes and designs from a cardstock paper to make the design completely your own!
A piece of cardboard to put inside the shirt. This could be optional, just know that the bleach might bleed to the backside of your shirt.
Directions:
Without the help of small hands, fill your bleach bottle and keep up out of reach for the time being. Also fill your bottle of vinegar
Lay your shirts out on your prepared surface outside and slide the cardboard inside your shirts
Arrange your objects on your shirt. If you use leaves or paper, or anything lightweight, add a rock on top to help hold it in place. Sometimes the power of the spray will shift the objects if they are too light
This is really your own creative process. There is no perfect arrangement or order. The outcome is always a little abstract
There should be balance, however, because you want to be able to see the effects of the reaction, without too much clutter from the objects. Likewise, you want some contrast between the bleached areas and what was covered
If you have little hands helping, get their rubber gloves and safety glasses on
Spray the bleach first over the objects in a decent coating
Watch for the color to begin to change!
Have the vinegar bottle ready because this will neutralize the bleach to stop the coloring
Play around with spraying the vinegar at different places at different times
Once you are happy with the reaction spray another light coating of vinegar to help it set and allow your shirt to dry for 15-20 minutes
Wash separately in cold water. You can wash all your projects together, but I would not add any other laundry to this load. Dry on normal setting
Now it’s time to show off your creation!